Showing posts with label Crafts. Show all posts

March 12, 2012

Suprise Birthday Party

This past weekend we had a surprise birthday party for my wonderful mother in law, and I was put in charge of decorations. I thought I would share my decorations with you, and maybe get your creative juices flowing!!


I wanted really simple, really cute center pieces. I decided to use mason jars I already had, i covered them in two different patterns of scrap book paper and then tied a bow around the jar (bow made from jute string)
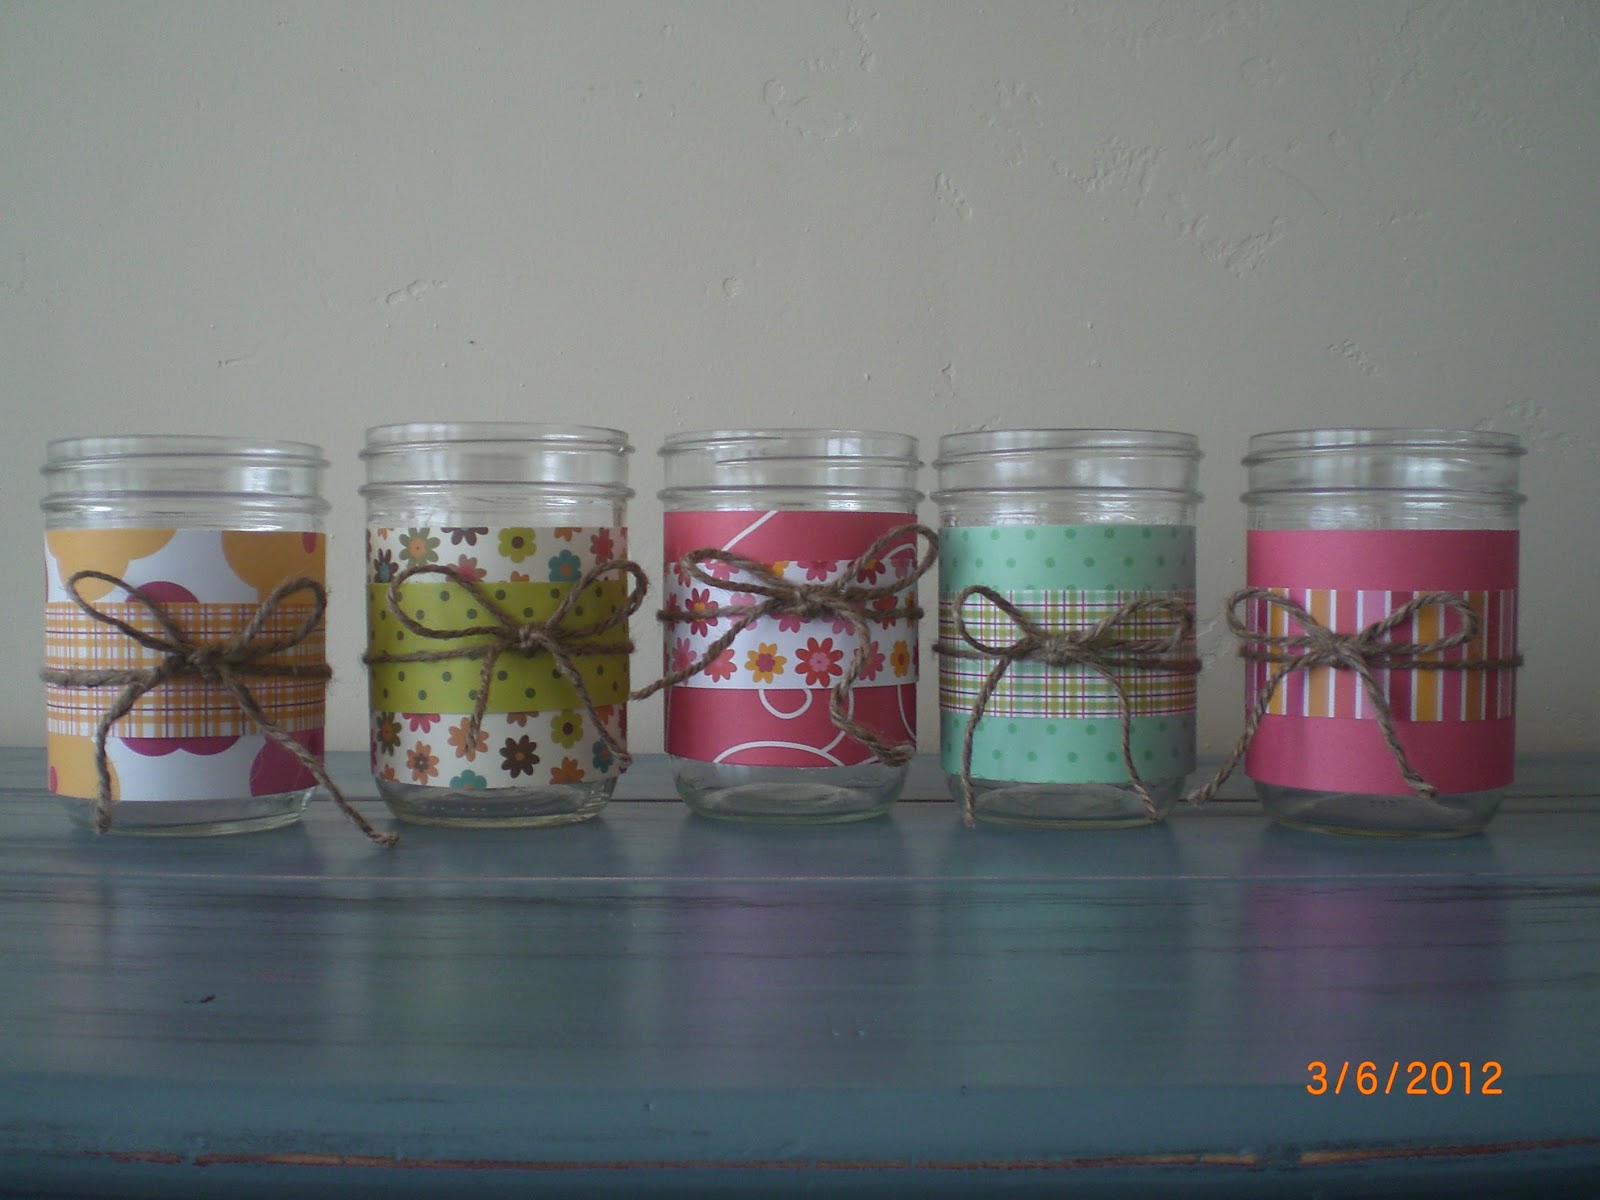


 All five of the jars finished!


 Then I needed something to put in my jars, so I found a tutorial on Pinterest for these flowers made out of different colored napkins!
{tutorial found here}

All put together!!

Here is the table at the party all put together! I made the pom poms hanging from the ceiling out of tissue paper. The table cloth: (this is such a cool idea) you can call your local newspaper and buy the end of a newspaper real, the real cost $3 and the kids LOVED IT because they could color on it (and there is a TON of paper on it, I will be using it for a LONG time)!!


I also cut out flowers to put all over the table and mini cupcake papers filled with jelly beans for the middle of the flowers (looked SOOOOO cute, and also kept little kids and little hands entertained)!!
{Idea found here}

 Close up of my flowers and jelly beans!

 {tutorial found here}
 I also made this Happy Birthday banner, it was a little time consuming, but ended up really cute (and can be used time after time)!!!

Cute cake table (again covered in newspaper)

 And of course I have to trow in some cute pics of my babies at grandmas birthday day
(don't mind my husband yawning in the back round, Reese's smile was to cute not to post this pic, sorry hunny)!!!

Cute baby and cute hubby!

And our cute Macy girl!! She was so excited all day that it was grandmas "birfday party"

Here she had just finished asking if it was time for cake yet, (we had just got there)!!!

Pictures I forgot to take:
* One of my whole family (I need to get better at stepping out in front of the camera once in a while)!!
* One of the birthday grandma (really i just need to get better at taking pictures)!!


February 28, 2012

Crinkle Tag Toy

Baby Reese LOVES to play with things that crinkle, and anything that has a tag!! So today I made her a little crinkle tag toy, you can look this up on Google or Pinterest  and find a million tutorials so I did not attempt my own (maybe another time)!!!
Anyway it was super easy and I just used things I already had!

Here is the finished toy

I think baby Reese approves!

February 21, 2012

Toddler Busy Bag Swap Party

I was invited to the coolest little party today by one of my very good friends, a TODDLER BUSY BAG SWAP PARTY!! I am sure many of you have seen these ideas floating around on Pinterest! Here is the idea behind the party:  Each person that is invited has to RSVP to the party and in there RSVP list what busy bag they would be making and bringing, then when all the RSVP's were received you were told how many busy bags you had to make and bring (this way there would be no duplicates), Example: we had 14 people coming to this party so I had to make 14 of the same busy bag. When we go to the party everyone laid there busy bags out on the table and then you got to walk around the table and take one of everyone's busy bags so when you leave, you leave with 14 different busy bags........ HOW COOL IS THAT!!!! This idea was found HERE
Here are the rules for your busy bags:
Also found HERE
Each activity needed to meet the following criteria:
  • Self-contained.  This way, you can just grab a bag and GO! (without having to add a number of supplies to the bag in order to make it useful.)
  • Transportable.  Yes, they will definitely be used at home, but I want to be able to grab a few bags to take to a restaurant, a waiting room, plane trips, car rides, etc.
  • Convenient.  None of the bags will have supplies that require major set-up or clean-up: (no paint, watercolors, liquids, sand, dirt, etc.)
  • Inexpensive. I didn’t want anyone spending too much money on this project!
  • Easy to Make: I didn’t want anyone spending hours and hours and hours making their activity.
  • Re-usable. I want these activities to last a while so that our other children can use them in the future.  Therefore, I avoided activities where you would have to buy new supplies to re-stock the bag.  This is why lamination is important for some of the activities.

 Here is a all my loot!!

 This is a fun matching game using paint chips and clothes pins


This one is pipe cleaners and beads, you lace the beads onto the pipe cleaners.
 My toddler just turned two in November so some of these games she doesn't get quite yet, BUT this one she has been playing with since we got home from the party....... two and a half hours ago!!!

 This one you match the number on the clothes pin to the number of stars on the wheels

 This one I had never heard of before it is called "Bolts and Nuts" There are letters on every side of the little nuts (if that is the right word?) and you can turn them to spell over 100 different words! The instructions are on the little card it came with.

 This is a little lace matching game, using the yarn match the color of the box on the left to the correct word on the right.
 You know you have done it right if, when you flip the card over your yarn matches up to the lines on the back!

 Homemade play dough.......... who doesn't LOVE play dough!?!?

 Another little matching game. The orange numbers are velcroed to the cards, so you take off all the orange numbers and then match the number on the circle to the number of elephants on each card.

 Color matching. Match the color on the clothes pin to the color on the wheel.


And last, this is the one I brought, a little foam memory game!

This was such a fun part!!! A good excuse to get together and when you leave, you leave with new fun things for the kidos, definitely a win win!!!

January 16, 2012

Playing Kitchen

This is something I have been wanting to share for a long time! I, like many others, am addicted to Pinterest! There have been many pins on Pinterest on how to make your very own play kitchen out of an old night stand or side table. I started seeing this idea float around a few months before Christmas and made up my mind that we were going to make one for Macy's Christmas present.
I searched and searched Craigslist until I found a piece of furniture that would work for what I had in mind. As usual I am AWFUL at taking before pictures so you will have to use your imagination! When we bought it, it was just an old, ugly, oak T.V. stand, and at $20 dollars it was not a bad buy for what it was about to become!

 Here it is the cutest little play kitchen you have ever seen!!
(can you tell I like it and I am so proud we made it all by ourselves?)
Levi did a TON of work, he made the oven door, and put plexi glass behind it so it really looks like an oven, he did most of the painting, drilled the hole in the top for the sink, and attached all the hardware and knobs. I made the curtain to hide the storage area and made a matching dish towel, painted the little wood plaques for the stove, and painted all the knobs and the faucet!


Close up of the top

Here is the breakdown of what we used:
Oak T.V. stand: $20 from Craigslist
Stove: made form two different sizes of wood plaques you can get at any craft store for about $1 a piece.
Sink Bowl: made form a little silver strainer I bought at Walmart about $4.
Faucet: made from a wooden letter "J" I bought, spray painted silver and attached upside down so it looks like a faucet.
Knobs: made from old dresser knobs I had laying around, spray painted black.
Fabric: bought two yards at Hobby Lobby about $8 (dishtowel I had laying around)
Paint: bought 1quart of orange paint to match the fabric, silver, white and black spray paint for everything else, probably about $20 in paint
Plexiglass: we put plexiglass in the oven door and in the microwave door to make them look real about $10.
Kitchen Accessories: we found a super cute little pot and pan set at Costco, and a little food set at Ross about $25 for both.
Look on Macy's face when she saw it on Christmas morning............
PRICELESS!!!!

This project was WAY more time consuming then we had originally planed, but in the end it came out way better then we planed. Macy ABSOLUTELY loves it and is always telling us she wants to go "play kitchen", or "do dishes" or "make cupcakes", she makes us play kitchen with her at least once a day usually more, it's soooo fun to see how much she loves it!! I also really like that it is made from sturdy wood so I think it will be around a lot longer then a plastic one would be! This is a project I definitely recommend!!